One of the biggest problems with any board game is the organization of its components. As a board game enthusiast, I often see a myriad of plastic ziplock bags or tackle boxes used to achieve order in an otherwise chaotic box.

As a software engineer/tinkerer/maker, I see these issues as opportunities to build and create custom solutions through the use of 3D printing. One of my favorite games is The Shipwreck Arcana. Though it doesn’t suffer from a lack of organization, I thought it would be fun to build a board game insert for it anyways.
My software of choice for this project is openSCAD. OpenSCAD uses modules and functions to build and render 3D models. While not particularly good from an artistic perspective, it does a great job when dealing with fairly simple models – perfect for game inserts.
Alright, let’s begin creating board game organization with openSCAD!
The Basic Concepts of openSCAD
The true beauty of openSCAD lies in its simplicity. Below are the most commonly used concepts and definitions. For additional clarity, take a look at this Cheat Sheet for quick reference on all openSCAD has to offer.
- Shapes (building blocks of life… er… openSCAD really):
- cube – with x, y, and z dimensions
- cylinder – with radius/diameter and height
- sphere – with radius/diameter
- cube – with x, y, and z dimensions
- Manipulations/transformations:
- translate – moving an object along the x, y, and/or z-axis
- rotate – moving an object around the x, y, and/or z-axis
- resize – changing the x, y, and/or z dimensions
- translate – moving an object along the x, y, and/or z-axis
- Additive/subtractive operations:
- union – combination of two or more objects into a single object (default operation)
- difference – deletion of all intersecting points of an object from another object
- intersection – deletion of all non-intersecting points between two or more objects
- union – combination of two or more objects into a single object (default operation)
- Programmability:
- module – encapsulated methods used to build/render and object
- function – simple computations providing a return value
- module – encapsulated methods used to build/render and object
The Process of Building in Board Game Organization with openSCAD
With the basics of openSCAD explained, it’s now time to get started actually using the software to build crafting board game organization for The Shipwreck Arcana.
Step 1: Measuring All Components
When starting a board game insert with openSCAD, I always begin by measuring the different board game components with calipers. Then, I record my findings in a single file.
This creates a single point of reference for those measurements across all potential builds. Wrapping each set of dimensions in a function allows for the transfer of variables when imported as a dependency.
// All measurements are in mm (millimeters)
// All dimensions are arranged [Length, Width, Height] (where applicable) for consistency

/**
 * Apply a buffer to x and y dimensions.
 *
 * @param {Array} item
 * @param {Number} buffer
 */
function applyBufferXY (item, buffer) = [
    item[0]+buffer,
    item[1]+buffer,
    item[2]
];

// Buffer
buffer = 1;

// Card Dimensions
cardLength = 120;
cardWidth = 70;
cardHeight = 12; // Across 36 cards
card = [cardLength, cardWidth, cardHeight];
bufferedCard = applyBufferXY(card, buffer);

// Token Dimensions
tokenLength = 30; // Across 7 tokens
tokenWidth = 20;
tokenHeight = 20;
token = [tokenLength, tokenWidth, tokenHeight];
bufferedToken = applyBufferXY(token, buffer);

// Border Dimensions
outerWall = 2;
innerWall = 1.5;
base = 1.5;
border = [outerWall, innerWall, base];

// Grip Dimensions
cardGrip = 4;
tokenGrip = 4;
grip = [cardGrip, tokenGrip];

// Edge Dimension
edge = 0.1;

// Variables aren't available as dependencies using ‘use’, functions are.
function getCards () = bufferedCard;
function getTokens () = bufferedToken;
function getBorders () = border;
function getGrips () = grip;
function getEdge () = edge;
Step 2: Creating Your Objects
Step 2a: Importing and Inserting
To start this step, we first need to import our file. There are two ways to do this: include and use.
Include acts as if the file contents are part of the file itself. This allows for variable overriding, which could lead to issues if naming variables adequately is something you struggle with.
Use imports the modules and functions only, thus avoiding said overrides. Just to be safe, I typically use use to steer clear of naming issues.
use <Dimensions.scad>;

card = getCards();
token = getTokens();
border = getBorders();
grip = getGrips();
edge = getEdge();

insert(card, token, border);

/**
 * Build the insert.
 *
 * @param {Array} card
 * @param {Array} token
 * @param {Array} border
 */
module insert (card, token, border) {
    // Setup inner tray dimensions. Height is both card and token height combined.
    innerTrayLength = card[0];
    innerTrayWidth = card[1];
    innerTrayHeight = card[2] + token[2];
    innerTray = [innerTrayLength, innerTrayWidth, innerTrayHeight];

    // The two components to be built together.
    gameBase(innerTray, border);
    tokenGrid(card, token, border);
};

/**
 * Create an open box with grips to hold the components.
 *
 * @param {Array} size - inner dimensions of the container
 * @param {Array} sides - widths of the top, right, bottom, and left walls respectively.
 * @param {Number} base - width of the floor
 * @param {Number} grip - length of the grips. (default = 0 (no grips))
 */
module openBox (size, sides, base, grip=0) {
    wall = border[0];
    base = border[2];

    x = size[0];
    y = size[1];
    z = size[2];

    top = sides[0];
    right = sides[1];
    bottom = sides[2];
    left = sides[3];

    // Difference results in the subtraction of intersecting objects.
    difference() {
        // First object is just a big block.
        cube([x+left+right, y+bottom+top, z+base]);

        // Remove the second object to make the block into a box.
        translate([left, bottom, base]) cube([x, y, z+edge]);

        // Remove the third object to make the box with open ends.
        translate([-edge, bottom+grip, base]) {
            cube([x+left+right+edge*2, y-grip*2, z+edge]);
        };
    };
};
After using use to import our file, the next bit of code we see revolves around insert.
In all applications I work on, I like to have a good starting point that will launch the build and render the model. For this project, insert is that point. It takes the dimensional dependencies in order to calculate, configure and pass as parameters to child modules.
Ultimately we’ve created two components for the combination of the cards and tokens into a single base model. Thanks to openSCAD, we’re well on our way to board game organization!
Step 2b: Creating the Board Game Box
Our next step is to begin creating the box for the board game to “live” in.
I’ll admit, there is a lot going in this next bit of code with a lot of different numbers. Typically, it’s a good rule of thumb to create variables as much as possible to help clarify their intended purpose. As you noticed, I didn’t do that here, so do what I say and not what I do – ha.
/**
 * Build the base container of the insert.
 *
 * @param {Array} size -
 *   inner tray dimensions.
 * @param {Array} border -
 *   border sizes for walls and floor.
 */
module gameBase (size, border) {

    wall = border[0];
    base = border[2];

    x = size[0];
    y = size[1];
    z = size[2]+base;

    // Difference of contained objects.
    difference() {

        // Use the openBox module to produce a repeatable object.
        openBox(size, [wall, wall, wall, wall], base, grip[0]);

        // Remove a section to create a spot for the lid.
        translate([0, 0, z*.8]) {
            difference() {
                translate([-edge, -edge, 0])
                    cube([x+edge*2+wall*2, y+edge*2+wall*2, z*.2+edge]);
                translate([wall*.55, wall*.55, -edge])
                    cube([x+wall*.9, y+wall*.9, z*.2+edge*3]);
            };
        };
    };
};
Basically, we’ve created the game base container with open sides to easily remove the cards and other game components. The lip around the top is designed so that we can add a lid as well.
I’ve noticed that creating exact fitting items usually results in too tight a fit, which can cause warping. Hence the multiplying by slightly more, or less than, half the wall width.
Step 2c: Crafting the Base Insert
With the box created, it’s now time to add some custom organization with a base insert.
As you look over this next chunk of code, you’ll notice that the token grid we create is nothing more than a bunch of smaller versions of the game base container we made in the previous step.
The most difficult part is calculating the space between each grid item in relation to the card size. Thus, as the card size increases, the token grid will update accordingly. Each iteration of the for loop determines the position of the element and the wall widths.
As we’re using two different wall dimensions, we want certain sides of the wall to match up with the outer wall. The second for loop adds a full length wall combining the middle section. This will be used to store the two circular bits that are also included in the game.
/**
 * Build the base containers for each token set.
 *
 * @param {Array} boxSize - card size
 * @param {Array} traySize - token size
 * @param {Array} border - border sizes for walls and floor.
 */
module tokenGrid (boxSize, traySize, border) {
    bx = boxSize[0];
    by = boxSize[1];

    tx = traySize[0];
    ty = traySize[1];
    tz = traySize[2];

    //borders
    outerWall=border[0];
    innerWall=border[1];
    base=border[2];

    //free-space between token cases
    fx=(bx-tx*3-innerWall*4)/2;
    fy=(by-ty*3-innerWall*4)/2;

    // Positions along the x-axis where the different containers should mount.
    xMiddle=tx+outerWall+innerWall+fx;
    xRight=tx*2+outerWall+innerWall*3+fx*2;

    // Positions along the y-axis where the different containers should mount.
    yMiddle=ty+outerWall+innerWall+fy;
    yTop=ty*2+outerWall+innerWall*3+fy*2;

    for(i = [
        //bottom-left
        [
            // Position the object along the [x, y, z] axes.
            [0, 0, 0],
            // Like CSS border-width property. [top, right, bottom, left]
            [innerWall, innerWall, outerWall, outerWall]
        ],
        //bottom-middle
        [
            [xMiddle, 0, 0],
            [innerWall, innerWall, outerWall, innerWall]
        ],
        //bottom-right
        [
            [xRight, 0, 0],
            [innerWall, outerWall, outerWall, innerWall]
        ],
        //middle-left
        [
            [0, yMiddle, 0],
            [innerWall, innerWall, innerWall, outerWall]
        ],
        //middle-right
        [
            [xRight, yMiddle, 0],
            [innerWall, outerWall, innerWall, innerWall]
        ],
        //top-left
        [
            [0, yTop, 0],
            [outerWall, innerWall, innerWall, outerWall]
        ],
        //top-middle
        [
            [xMiddle, yTop, 0],
            [outerWall, innerWall, innerWall, innerWall]
        ],
        //top-right
        [
            [xRight, yTop, 0],
            [outerWall, outerWall, innerWall, innerWall]
        ]
    ]) {
        translate (i[0]) openBox(traySize, i[1], base, grip[1]);
    };

    for(i = [
        [outerWall, ty+outerWall+innerWall+fy, base],
        [outerWall, ty*2+outerWall+innerWall*2+fy, base]
    ]) {
        translate(i) cube([bx, innerWall, tz]);
    };
};
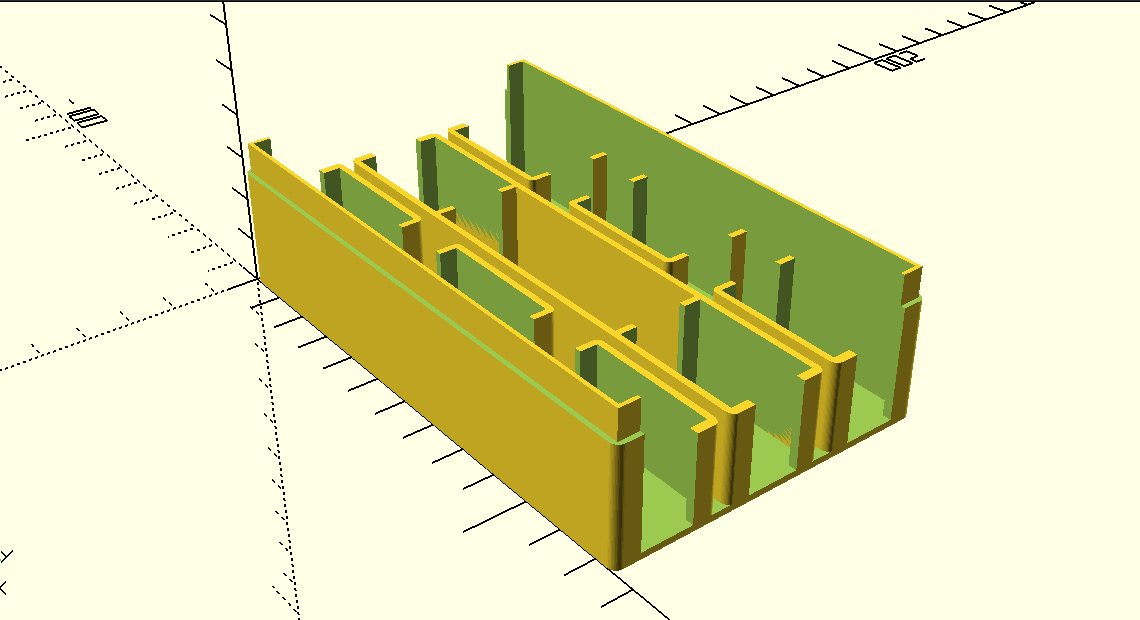
After everything is coded and rendered, we get a completed base insert. One way to skip rendering of a module is to put an asterisk (*) in front of it. This will help when needing to inspect specific modules without the inclusion of others.

Now, onto building the lid.
Step 2d: Building the Lid
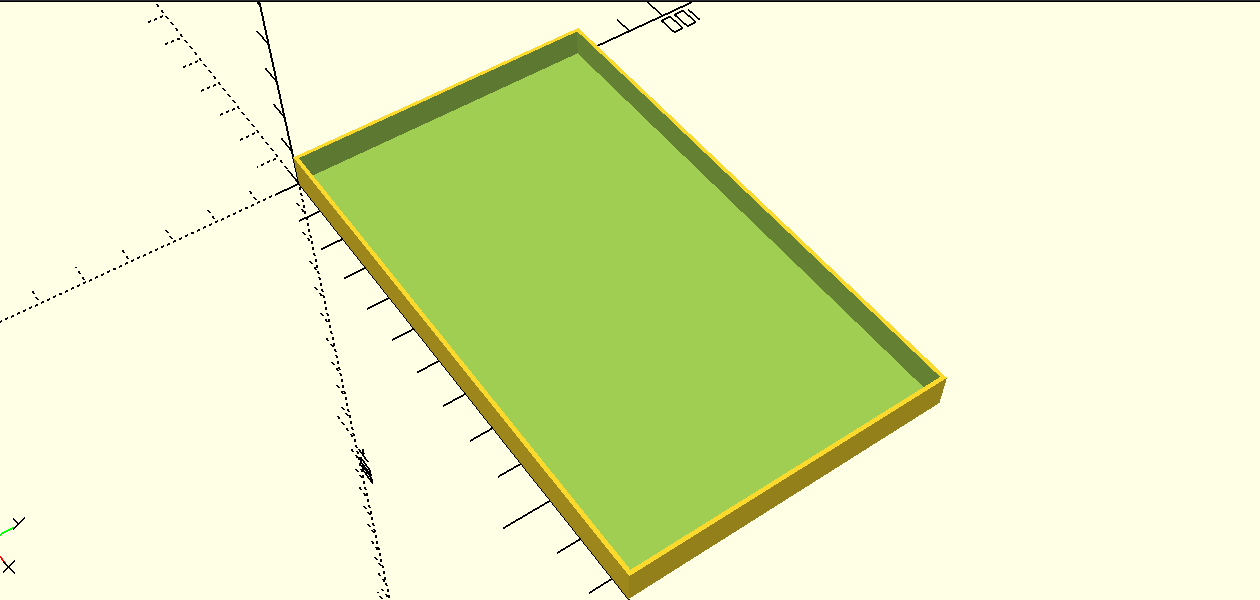
The lid is significantly easier to create, but the most important part is the dependency. Since the dependency is coming from the dimensions file, we don’t have to worry about mismatched measurements.
use <Dimensions.scad>;

card = getCards();
token = getTokens();
border = getBorders();

insert(card, token, border);

/**
 * Build the insert.
 *
 * @param {Array} card
 * @param {Array} token
 * @param {Array} border
 */
module insert (card, token, border) {
    // Setup inner tray dimensions. Height is both card and token height combined.
    innerTrayLength = card[0];
    innerTrayWidth = card[1];
    innerTrayHeight = card[2] + token[2];
    innerTray = [innerTrayLength, innerTrayWidth, innerTrayHeight];

    gameLid(innerTray, border);
};

/**
 * Build the lid container of the insert.
 *
 * @param {Array} size - inner tray dimensions.
 * @param {Array} border - border sizes for walls and floor.
 */
module gameLid (size, border) {
    wall = border[0];
    base = border[2];

    x = size[0];
    y = size[1];
    z = size[2]+base;

    difference() {
        cube([x+wall*2, y+wall*2, z*.2+base]);
        translate([wall*.45, wall*.45, base]) cube([x+wall*1.1, y+wall*1.1, z]);
    };
};
The result will be a lid perfectly sized for the base box we created.
Step 3: Polishing Things Up (Looking Sharp… a Little Too Sharp…)
With openSCAD, we’ve created our box, insert, and lid, but those corners and edges are a little pointy and right angley. While the model would produce a functional insert, it isn’t anywhere near the professional box and insert I would expect from a polished board game.
This is where the customization and attention to detail come in – not to mention the moment the 80/20 rule imposes its ugly head. We’ve built the majority of this object using simple shapes. Rounding out the edges and corners takes a significant amount of time and patience. Luckily, I’ve already done the work.
Since any additional modules would need to apply to both the base and the lid, we’ll introduce a utility file. By abstracting the roundedBox module, we can build a better component than what cube provided.
One new item of note is the hull function. Hull takes an accumulation of shapes and fills all empty space between them. The roundedBox module is actually creating four cylinders located at the four corners of the box. If one were to comment out the line with hull and its matching end bracket, then all you’d see would be a bunch of oddly shaped cylinders arranged in rectangular patterns.
/**
 * Create a rounded box.
 *
 * @param {Array} size - inner box dimensions
 * @param {Array} sides - border dimensions
 */
module roundedBox (size, sides) {
    // $fn is used to smooth out rendered cylinders and spheres.
    // The higher the number the smoother the surface.
    $fn = 50;

    x = size[0];
    y = size[1];
    z = size[2];

    //borders
    top=sides[0];
    right=sides[1];
    bottom=sides[2];
    left=sides[3];

    //corners
    topRight=max([top,right]);
    bottomRight=max([bottom,right]);
    bottomLeft=max([bottom,left]);
    topLeft=max([top,left]);

    hull () {
        for(i=[
            //bottom-left
            [
                [left,bottom,0],
                [left*2,bottom*2,0],
                bottomLeft
            ],
            //bottom-right
            [
                [x+left,bottom,0],
                [right*2,bottom*2,0],
                bottomRight
            ],
            //top-left
            [
                [left,y+bottom,0],
                [left*2,top*2,0],
                topLeft
            ],
            //top-right
            [
                [x+left,y+bottom,0],
                [right*2,top*2,0],
                topRight
            ]
        ]) {
            translate(i[0]) resize(i[1]) cylinder(r=i[2],h=z);
        };
    };
};
For both the base and lid, we now need to use (or import) the utility file.
use <Utility.scad>;
We also need to change one line in both files:
//BASE - openBox Module

//cube([x+left+right, y+bottom+top, z+base]); //remove
roundedBox([x, y, z+base], sides); //add
And
//LID - gameLid Module

//cube([x+wall*2, y+wall*2, z*.2+base]); //remove
roundedBox([x, y, z*.2+base], [wall, wall, wall, wall]); //add
Tada! Our pieces should now be a little less pointy.
Step 4: One Last Adjustment
Things look great. Sure there are a couple of corners on the grips that could be smoothed over, but I’ll leave that up to you to figure out.
Aside from that, I just realized what we’re missing: SLEEVES!! For those games that you play a lot, you want to get the best return on investment. By sleeving cards, you are ensuring the longevity of your game. However, by wrapping each card in a layer of plastic we’re increasing volume.
What does that mean for our insert? Nothing too dramatic, except that the insert will no longer allow the game box to fully close due to the increased height. Since sleeving is merely a change in the variables/parameters, we can easily accommodate those changes in the dimensions file alone.
Let’s add a card with sleeves dimensions portion and change the getCards function to refer to the new adjustment as well.
// Card w/ Sleeve Dimensions
sleeveLength = 124;
sleeveWidth = 72;
sleeveHeight = 24; // Across 36 cards
sleeve = [sleeveLength, sleeveWidth, sleeveHeight];
bufferedSleeve = applyBufferXY(sleeve, buffer);
// Can use bufferedCard/bufferedSleeve as current.
function getCards () = bufferedSleeve;
In Conclusion…
Building this board game insert with openSCAD has been a lot of fun! While not strictly necessary, a board game insert seriously enhances organization.
You can find all files at Thingiverse if you’d like to download and play with what’s already there.
Experiment and enjoy!!
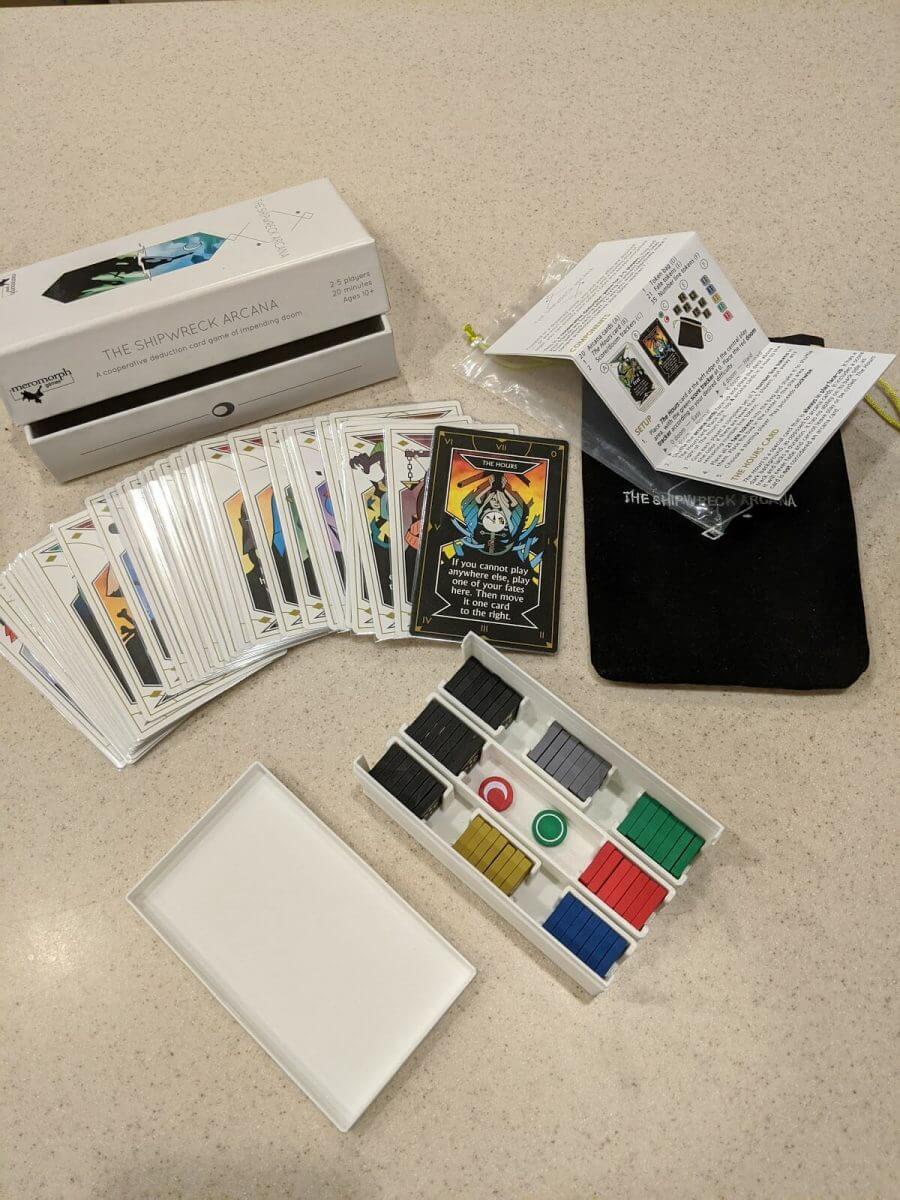
Tokens in their insert …
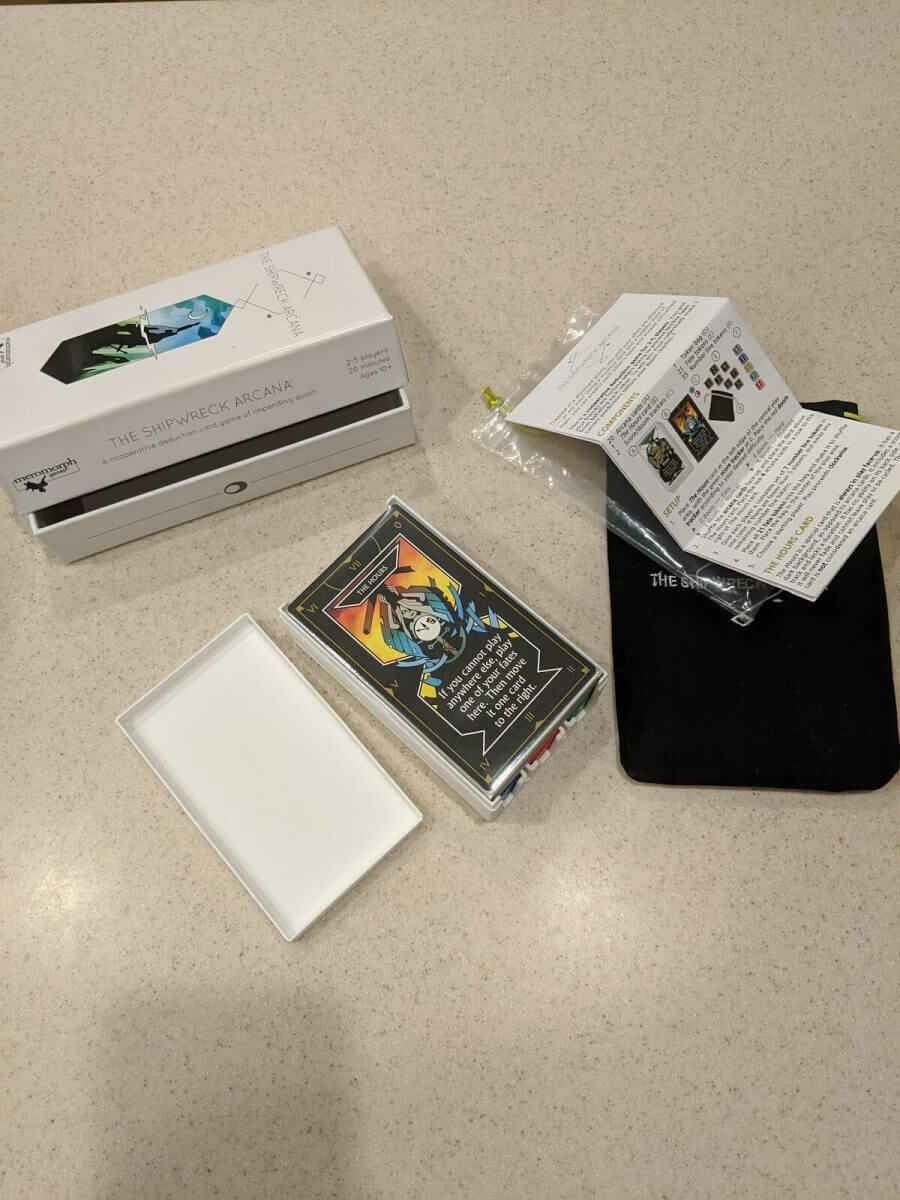
Cards in their insert …

Lid on the insert …
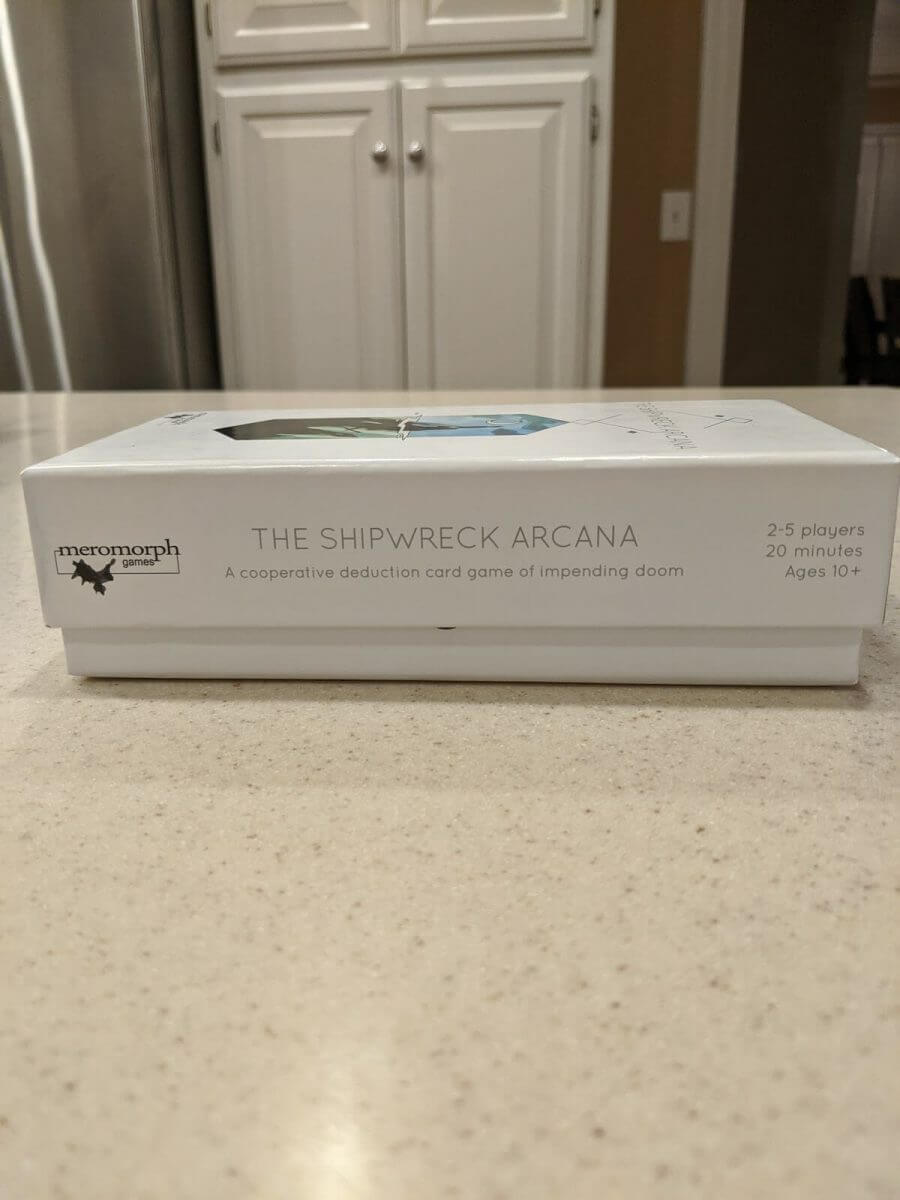
In the box!!


