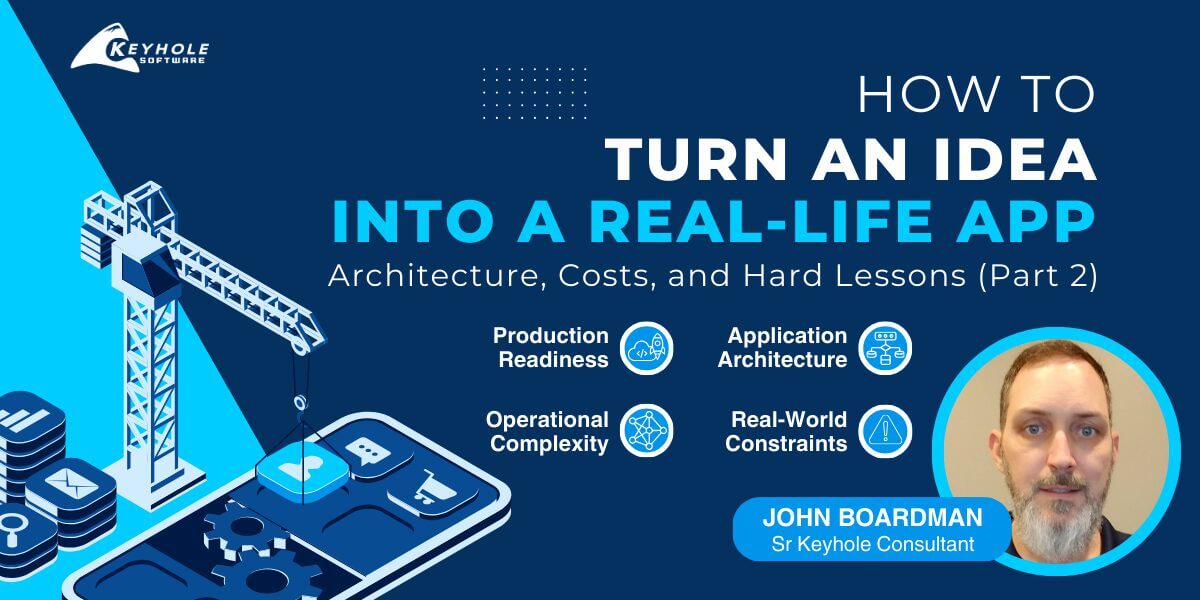
Turning a Prototype into a Production App: Architecture, Costs, and Hard Lessons (Part 2)
Part 1 of this series walked through the foundations of how Pennies-AI went from idea to working prototype – the architecture choices, the tools that fit the product, and why even seemingly “simple” features can be deceptively complex.
There comes a point in every serious side project where experimentation gives way to trust. For Pennies-AI, that moment came when I stopped double-entering data just to verify correctness and started relying on the system day to day.
This part focuses on what it took to move from “it works” to turning a prototype into a production app, something stable enough to depend on and run in production. Beyond new features, it explores the architectural decisions, infrastructure trade-offs, and real-world costs involved in turning a prototype into a production app. Many of those lessons don’t show up in code, but they are every bit as important for success once real users and real expectations are involved.
From Side Project to Product
Once the system got to the point where I didn’t need to “double book” (enter all of my information into Quicken and then into my system to make sure it matched on every level), I started feeling confident that Pennies-AI could be a real product.
I started adding features like future transactions so that repeated data didn’t have to be entered all the time. I generally use this instead of bank imports for everyday stuff and only import from files when I’m loading historical data for an account. Birthday gifts, utilities, subscriptions, house/car payments, paychecks, groceries, insurance, and more can all be set up on completely flexible schedules.
My wife and I share the same accounts while still having our own login and profile because the system supports account sharing. You can share read-only permissions, for example, with a financial advisor, all the way up to full access for your spouse, partner, friend, etc. Each account has its own fine-grained access controls for each person you share it with.
When these and other powerful features came together, I knew it was time to button things up and push for production. The next step was making sure the architecture and infrastructure were ready for that move.
Production Architecture Lessons
Getting the website up and running was job number one. Heroku has first-class support for Node.js applications, but as usual, there are a handful of architectural and operational decisions that make the difference between “it works” and something you can confidently run in production.
As an aside, let Heroku manage your SSL certificate automatically. This is available with all paid dynos and removes an entire class of operational headaches.
The sections below walk through the production lessons that mattered most as Pennies-AI moved from prototype to a live system.
Tips #1 & #2: Script Setup
Let’s look at the build scripts. There are three separate parts: the root level, the client, and the server. Let’s look at each, because I’m going to save you some time if you decide to go the Typescript/Express/Expo/React-Native-Web route.
Root-Level Build Script (package.json):
"build": "cd client; npm install -g yarn; yarn build; cd ../server; yarn build; cd ..;"
This is what Heroku calls. It is just an orchestrator for the client and server builds. Pretty easy stuff here.
Client-Level Build Script (client/package.json):
(Tip #2 is in here!):
"prebuild": "rm -rf node_modules; yarn install; npx expo prebuild",
"build": "npx expo export -p web; rm -rf ../server/dist; cp -R ./dist ../server/dist",
"postinstall": "npx patch-package"
For the client, yarn calls prebuild first. This just cleans up anything left over from a prior build in case a directory gets reused, installs packages, and calls postinstall to patch packages, and then tells Expo to set things up.
Once that finishes, yarn calls the build script. This uses Expo to build a static website for the web, then removes any old distribution from the server, and then copies the static site over so the server can see it and serve it when it runs.
Server-Level Build Script (server/package.json):
"build": "echo 'build'; rm -rf build; rm -rf node_modules; npm install -g yarn; yarn install; yarn run tsc --build; sequelize db:migrate; cp -R ./favicon/* ./dist"
The server build script first removes any old build artifacts and packages, installs yarn, installs the packages, builds the code, performs any required database migrations, and finally copies the favicon files to the distribution directory so they can be served directly from the root.
The result is a repeatable, guaranteed clean build every time. By having Expo build the react-native-web site statically, the files are served super fast by Node Express with just two lines of code (ok, I’ll show two lines of code, and the rest is operations!).
const dirname = path.join(__dirname, '/../dist');
app.use(express.static(dirname));
The start scripts are as basic as they get.
The root level:
"start": "cd server; yarn start;"
And the server level:
"start": "node ./build/app.js"
Once the site is building cleanly, the next question is what should actually be exposed.
Tip #3: What to Serve?
I learned the correct set of files to serve to meet the various requirements for web, Android, and iOS a bit at a time over several months. I’m going to list the route names here; you can easily find more information about them using your favorite search engine.
/sitemap.txt, /browserconfig.xml, /manifest.json, /robots.txt, /.well-known/assetlinks.json, /.well-known/apple-app-site-association
Tip #4: Reject Unknown Requests
Bots, port scanners, and other automated programs are going to hit your server. If you aren’t ready for them, they can scoop up files they shouldn’t be looking at. Nefarious actors can also try to flood your server with requests (a DDoS attack).
So, as early as possible in the Express app.use() chain, check the incoming path to see if it’s something you actually serve. If not, immediately reject the request and return a 404. I do this by throwing an Error with a message of '404', then letting the error handler send the response if that’s what it catches. This interrupts the app.use() chain, so the minimum amount of server resources are used to reject the request.
Tip #5: Choose the Right Heroku Plan
Using these guidelines, Heroku can keep up with a pretty solid user load even on the inexpensive Basic plan. The Basic plan gives you a 24×7 running server. It isn’t much more than the Eco plan, which shuts down after a period of inactivity.
That shutdown can delay the first request quite significantly while the server spins back up, which looks slow to users. I suggest skipping Eco and going straight to the Basic plan to start.
Tip #6: Plan for Database Growth
For the database, I chose Heroku Postgres Essential. It’s low cost ($5/month), extremely fast, supports up to 20 concurrent connections, allows up to 4,000 tables, and provides 1GB of storage. Even with an audit log table and a transaction history table that tracks every change to every transaction, it will be a while before I need to move up to the next tier.
One of the nice things about Heroku Postgres is that you can grow slowly. Essential-1 gives you 10GB of storage for $9/month, and Essential-2 offers 32GB for $20/month. Many additional tiers scale all the way up to 8TB, so it grows as your needs do—and it’s difficult to outgrow.
Tip #7: Use Sequelize (and Configure It Properly)
I also suggest using Sequelize to manage your database. The migrations make creating and refactoring tables straightforward, and the API makes working with the database much easier overall. One hint here: set up a connection pool for concurrent queries. The Sequelize examples don’t usually include a pool, so this is something you only discover after digging into the docs.
With the core architecture in place, I started running into a different class of problems that had nothing to do with application code.
The Hidden Complexity of a Simple Setup
Setting up a domain is pretty easy. Adding an email address that supports SMTP (so you can send emails to users without going to spam) is much harder. If enough users mark your messages as spam, the email address may be blacklisted.
Because of that, it’s important to set up your domain and email correctly from the start. There are CNAME, TXT, CAA, MX, and ALIAS records that have to be configured. Google and Heroku will also ask you to add records to prove domain ownership. It can be quite a headache to get right, so make sure you choose a provider that can support all of these, and that you have the authority to do them.
Once the infrastructure was in place, the next obvious question was what it actually cost to run.
Start Up Costs and Real Numbers
Looking for some real numbers on hosting and getting everything running? Let’s break it down. These costs support starting up and handling the first subscribers. As people subscribe, Heroku supports scaling. From my calculations, the expenses never come close to the profit once at least 25 subscribers are paying their subscriptions.
At $29.99 per year, even if the developer keeps $20 after store fees (mobile) and transaction fees (web), just 25 subscribers in a year would easily cover the costs shown below. I think it’s important to share the real numbers here to show what startup costs actually look like.
At the highest levels of scalability on Heroku, these numbers can surpass $500k per year in operating costs. If that level is ever needed, the subscriber base would be well over 10,000 per month. The numbers are still firmly on the profit side, even if some employees are hired to lessen the burden of wearing all hats.
Initial Monthly Costs
- $10/mo ($120/yr) – QuickBooks Online (for my CPA)
- $8.33/mo ($100/yr) – Apple Developer
- $2.08/mo ($25/yr) – Google Play Developer
- $7/mo – Heroku basic web hosting (24×7 uptime)
- $5/mo – Postgres Essential 0 database
- $1.29/mo ($30.96 2yr) – Hostinger Email
- $0.89/mo ($21.34 2yr) – Hostinger pennies-ai.com domain 2yr
- <$1/mo (<$12/yr) – Azure AI for receipt processing
Total: $35.59/mo ($427.08/yr)
Wrapping Up, For Now
By the time Pennies-AI completed the transition from prototype to production, the challenges were no longer limited to writing code. Architectural and operational details (deployment strategy, infrastructure choices, and real costs) became just as important to get right.
One recurring lesson at this stage was that “simple” setups often hide real complexity, especially once reliability and trust are involved. Email delivery, request handling, hosting tiers, and database growth are easy to underestimate until you’re responsible for them in a live system.
In the next parts of the series, I’ll shift from infrastructure to the business side of launching an app. We’ll talk about setting up the company, navigating Apple and Google’s ecosystems, and what it actually takes to get a shared codebase onto real devices. From there, I’ll cover subscriptions, promotion, and the non-code work that comes with being a solo developer.
Pennies-AI officially went to production on January 24th, 2026. Thanks for following along! There’s still a lot more to cover in Parts 3 and 4.
Product: Pennies-AI
Website: https://www.pennies-ai.com/
Facebook: https://www.facebook.com/PenniesAI
YouTube Tutorials: https://www.youtube.com/@Pennies-AI
Series Note
This post is part of an ongoing series documenting the journey of turning Pennies-AI from an idea into a production application. If you haven’t read it yet, Part 1 covers the technical foundations, from early architecture decisions to building a working prototype:
How to Turn an Idea Into an App (Part 1) →
Parts 3 and 4 will focus on what comes after launch, setting up the business, navigating app stores, subscriptions, and the non-code work of running an app.
More From John Boardman
About Keyhole Software
Expert team of software developer consultants solving complex software challenges for U.S. clients.
Share This Post
Join The Thousands Of Devs Who Subscribe


Discuss This Article
Subscribe
Login
0 Comments
Oldest