
Getting Started Building 3D Simulations In Unity3D, Part 1
Welcome to part one of a three-part blog series on Unity 3D. In this series, we will create a simple 3D game in Unity3D with rich controls. Part one will cover how to set up Unity3D. Part two will teach you how to control Unity3D using C#. The third and final post in this series will delve into actually making a simple game using Unity3D.
I’ve used Unity for quite awhile. It’s pretty much the go-to for any mobile game, even the recently popular Pokemon Go (which my wife is crazy about).
So, in this post, we’ll be talking about how to set up Unity 3D. Don’t be afraid: these posts looks long, but there are a lot of screenshots to make sure it’s easy for you to follow along.
Let’s Get Started
First, you will need to download Unity3d. Do so here.
Open UnityDownloadAssistant.exe and click through setup.

Select Defaults
If you are running on Windows, I would select “Microsoft Visual Studio Tools for Unity3D.” This will allow you to use Visual Studio to debug and write your C#.
Alternatively, if you are using Mac OSX, you can use the built-in MonoDevelop which will come by default.

Once the Download and Install are complete, Unity3D requires a user/password to continue. Click “create one” to go to Unity3D’s website to create an account (they will send a verify email). Once you have your account, sign in.

Once signed into Unity3D, select “Personal Edition.” The Personal Edition is a lighter version but has about 95% of what the pro version has for features. It will allow you to develop and deploy your applications for free.

Now that Unity3D is all set up, let’s create our first project. Click “New Project.”

Let’s call the project “Example Project” and put it in our source folder. Select “3D” and click “Create Project.”
For this project, we will skip the “Asset Packages;” this option will allow you to add pre-created asset packages to your project to jump-start you along.

Once you press “Create Project,” Unity3d with build a folder structure and insert any pre-packaged assets.
It will by default create four folders: Assets, Library, ProjectSettings and Temp. The Assets folder will be where all your created and pre-packaged assets will live during development. Library and Temp are Unity3D files used for version control and any temporary files created for assets.
The Editor
Unity3D should then open the editor window (which has a bunch of windows) and should create and set itself up as a default, unsaved theme. The windows are modular and allow you to set up the editor to your desired look and feel. You can select a tab and drag it to its own window and/or to an already-created window.
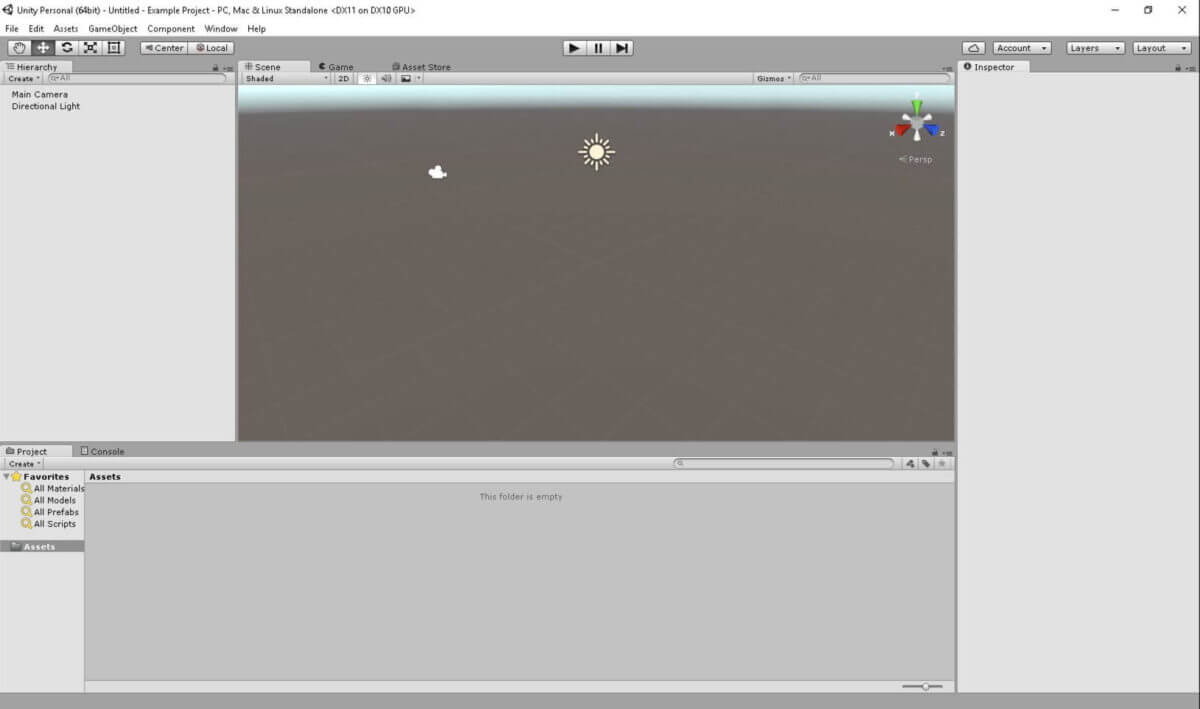
The Hierarchy Window displays all assets and objects in a scene. This will allow you to see the layout of your scene visually from a hierarchical view, which can help you to group/parent objects to each other and select them for editing.

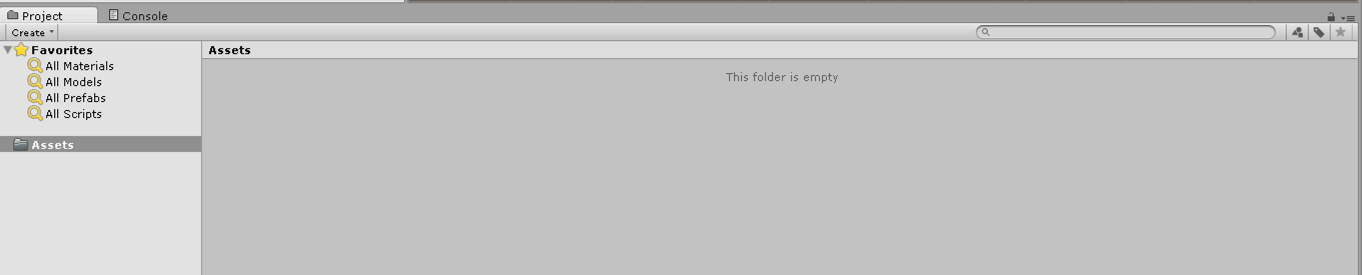
The Project allows you to see your Assets folder which will allow to drag-and-drop assets into the hierarchy window as well as open/modify scripts and assets in the external editor.
The scene window allows you to see and modify/select assets in a 3D space. This is a static view of the 3D space and by default won’t employ all shaders and execute scripts. This allows you to see a simple state of objects.

The Game Window is a live game preview that will allow you to run your app and execute code as if you deployed it.

The Inspector Window allows you to edit game objects, either from the hierarchical view or from the asset window.

Wrap Up
In this post we discussed how to get started with Unity 3D and some of the particulars you should know.
In our next post (later on this week), we are going to discuss how to use C# to control Unity 3D. Then in our third and final post, we will talk about actually making a simple game using Unity3D.
Get subscribed in the sidebar to receive the new posts automatically by email!
Series
Part 1: Setting up Unity3D
Part 2: Controlling Unity3D using C#
More From Greg Yotz
About Keyhole Software
Expert team of software developer consultants solving complex software challenges for U.S. clients.
Share This Post
Join The Thousands Of Devs Who Subscribe


Just wanted to say that this is a great series, Greg. I’ve wanted to start doing some things in Unity for years and you’ve provided the gentle shove I was needing. As you know, it’s not easy to explain things like this in writing and have it still be easy to understand, but I’m not sure how it could be any clearer/simpler than you’ve done here. Maybe you should make this a 10-part series instead of 3, eh?? ha. But seriously, that would be awesome. 🙂 Great job, looking forward to the next post!
Thanks, I do have to give a most of the props to Lauren for editing this but yes I do plan to extend this to be more in depth but it was already a bit long when i gave it to Lauren, so i figured i would hold here for a bit.