Mockups with MockOla
MockOla is an open-source, 2D, canvas drawing tool built with JavaScript. It provides drawing palettes for UI Wireframing, UML Diagramming, Flow Charts, Shapes, and Architectural elements. The nice thing about MockOla is it provides a clean UI, which is simple to understand and makes creating visual a mockup a breeze.
I recently wrote the following blog: Azure Web Apps in Docker Containers. I wrote the blog using Google Docs. I provided pictures for technical steps within the blog, but I was unsure about the overall look and feel. I am going to recreate the blog page in a few steps using MockOla. This is a straightforward process, and it aids in creating a more professional product than a typical, lo-fi mockup.
In this blog, we’ll create the blog mockup. The process, in this case, has 5 simple steps:
- Use widgets found in the palettes on the sidebar
- Customize those widgets
- Import images
- Use the draw function to get feedback
- Save the mockup as a .png
Let’s begin.
Getting Started
Open up your browser and find your way to mockola.com. The tool is completely free to use, and you won’t need to make an account or log in to use it. Don’t worry, though, you’ll still be able to download and/or save your designs locally.
Upon arriving at the site, you’ll see this screen:
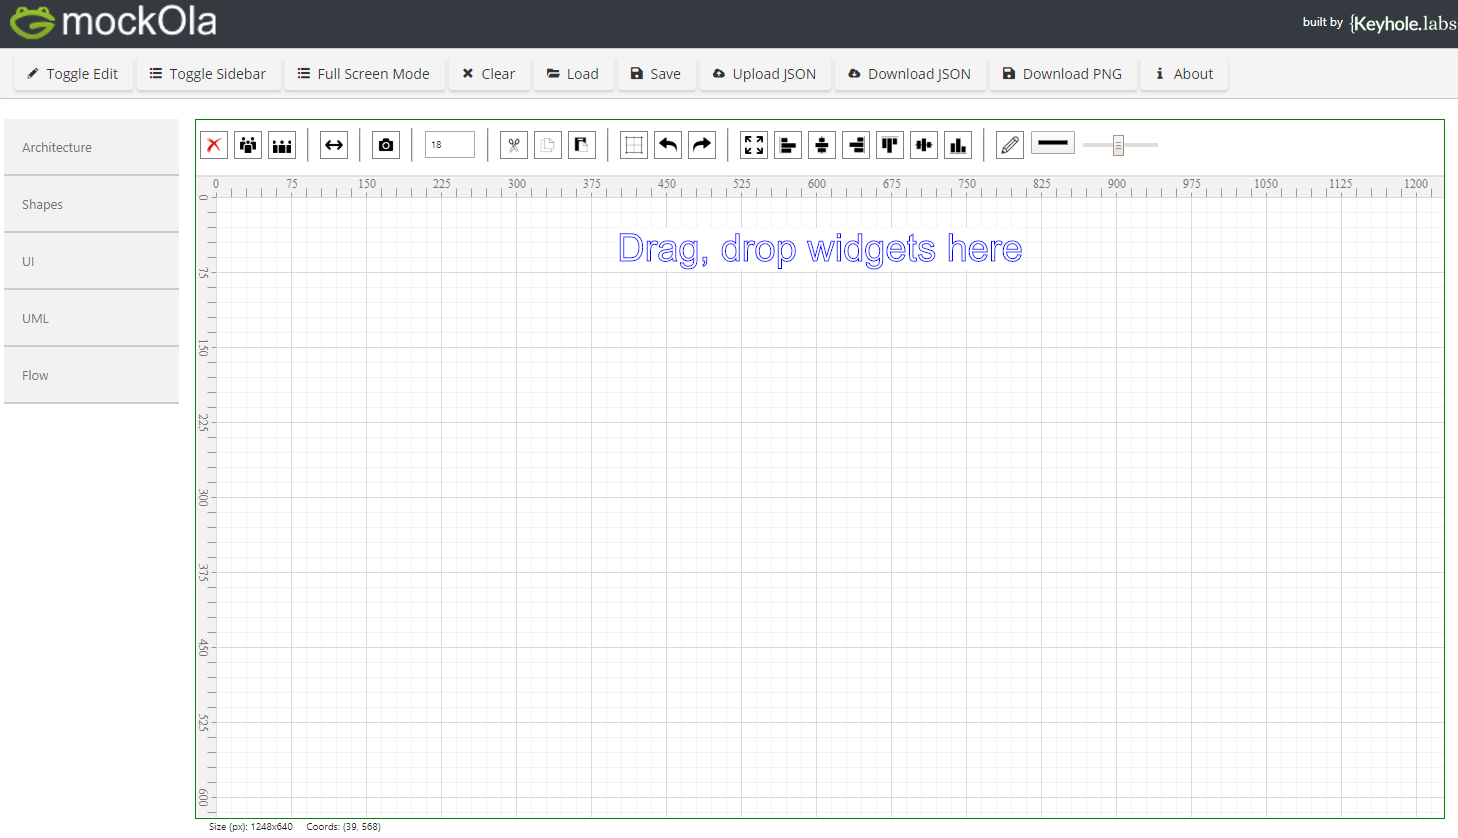
Step 1: Adding Widgets from the Palettes Sidebar
The sidebar on the left side of the screen provides widgets that can be dragged and dropped onto the canvas. The sidebar is divided into 5 palettes: Architecture, Shapes, UI, UML, and Flow.
In our example, we will be using the UI palette. On the sidebar, click UI to expand the UI palette.
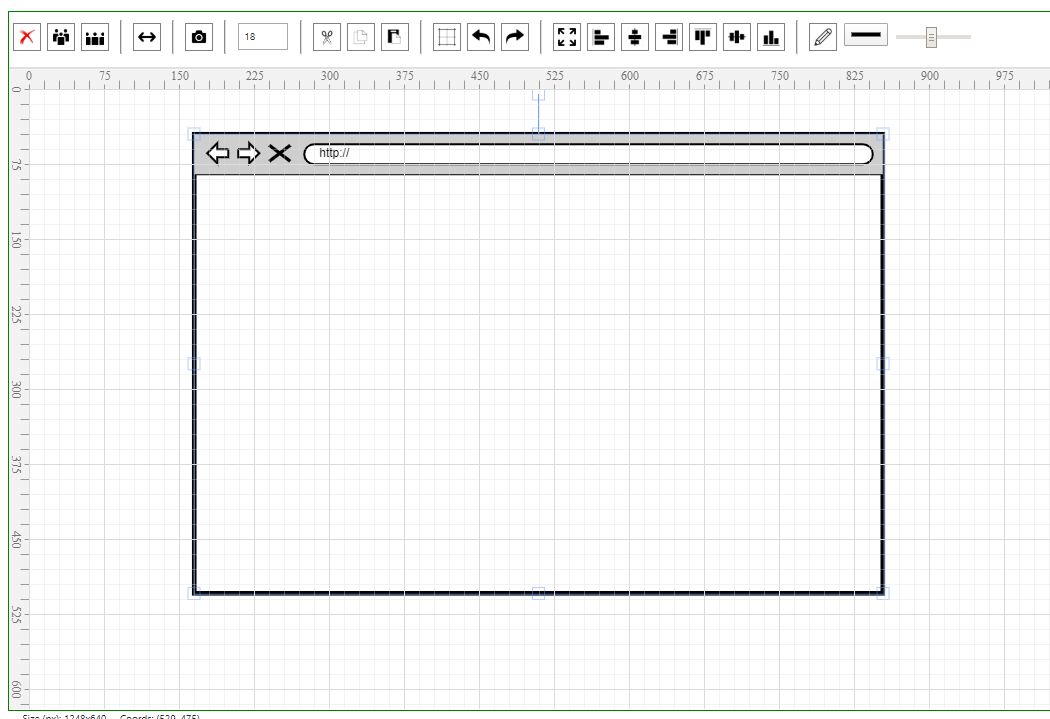
To add any widget to the canvas, simply click, drag and drop. For my design, I need the web browser widget. Within the UI palette, find the web browser widget and click, drag, and drop it onto the canvas.

Step 2: Customizing Widgets
Let’s start by resizing, the browser widget. Clicking on a widget once will allow you to adjust its size.
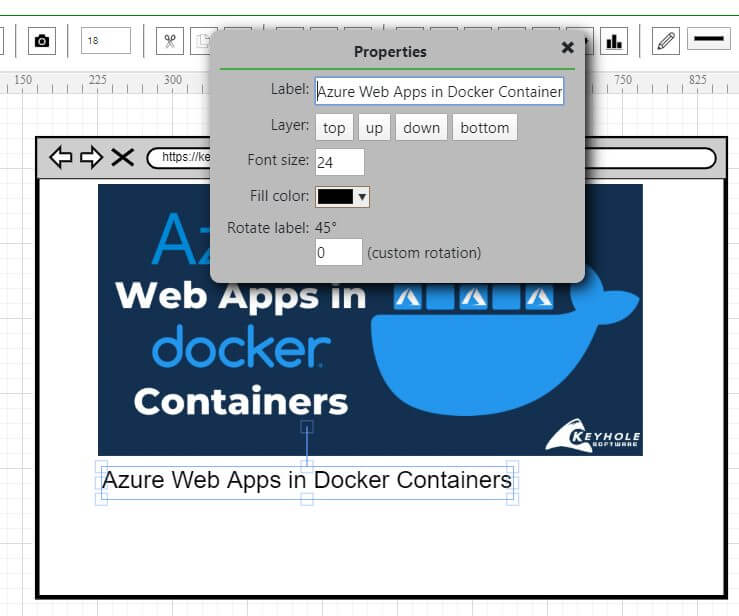
Widgets are fully customizable. Double click any widget to change its default properties.
For our example, we’ll customize the properties of the web browser widget we inserted. Start by double-clicking it. This opens the properties pop-up.

Let’s change the Label from the default value to the url of the site (in our case https://keyholesoftware.com/blog/).
Step 3: Importing Images
With MockOla, you also have the ability to upload your own images to enrich your designs and diagrams. To do so, find the image widget in the UI palette.

Next, click, drag, and drop it onto the canvas.

Clicking on the image widget will allow you to upload an image. This is the result:

Just like other widgets, you are able to resize your image.
Next, for our example, we will insert a label widget by dragging and dropping it onto the canvas.

Double click the label widget to open the properties pop-up. We will change the default label text and increase the font size.
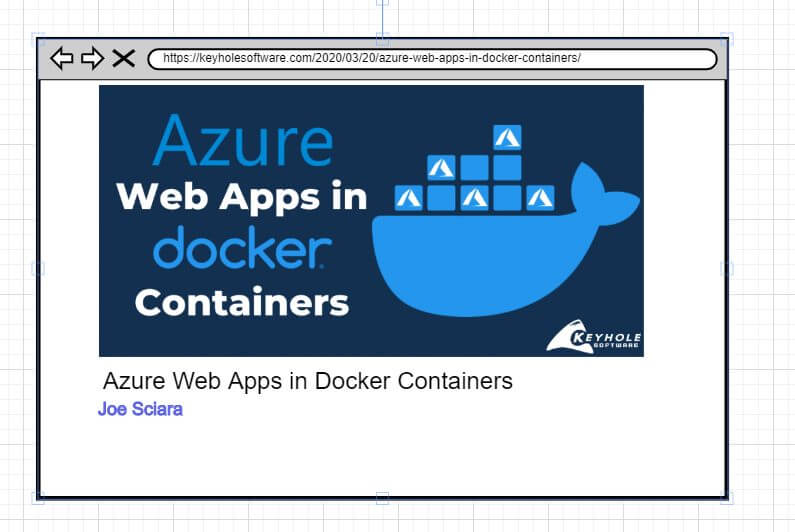
Next, we’ll drag and drop another label widget onto the canvas. Open up the properties pop-up (by double-clicking on the widget), and then change the fill color property to blue.

For the purposes that I intend, my simple mockup is now complete.
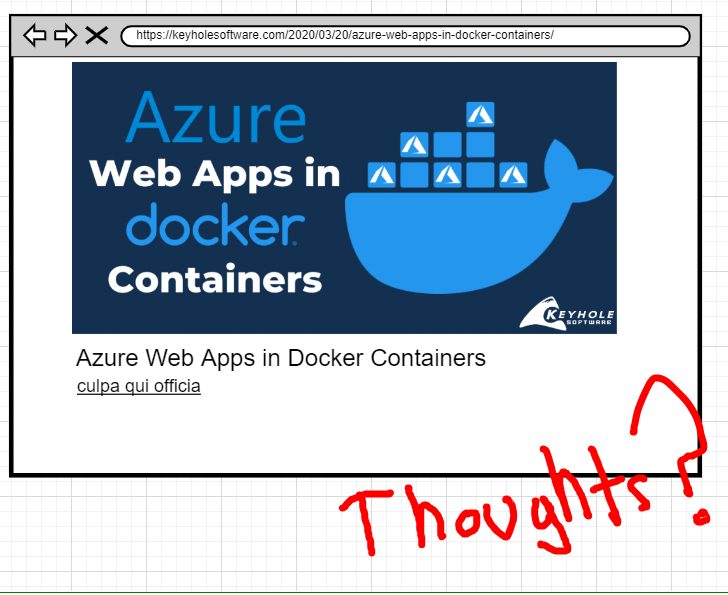
Step 4: Using the Draw Function
I’m all done designing, but before I use the mockup, I want to get some other opinions from my coworkers.
MockOla has a draw function that makes this easy.
![]()
I’ll use it to see if I can get some feedback from my co-workers. clicking on the pencil icon (above) will turn on the draw function. You can adjust both the color and size to your liking.
Step 5: Saving and Downloading Your Design
In order to send this off for feedback, I’ll need to save and download the image. To do so, click Download PNG.

After saving the image, I dropped it into Slack to start a conversation and sent it off.

MockOla will automatically crop the image, so there is not excess whitespace from areas of the canvas that was not used. MockOla also has Expand Multiplier that can greatly increase the size of the image – a pretty handy feature depending on how you intend to use your design.
That wraps up this example! Keep in mind, this was a relatively simple scenario meant for a blog post. MockOla can be used for a very wide variety of projects.
Other MockOla-Use Examples
MockOla can be used for any number of possibilities. Below are examples of a UML Diagram and another UI Diagram both built using MockOla.
UML Diagram
 UI Wireframe
 UI Wireframe
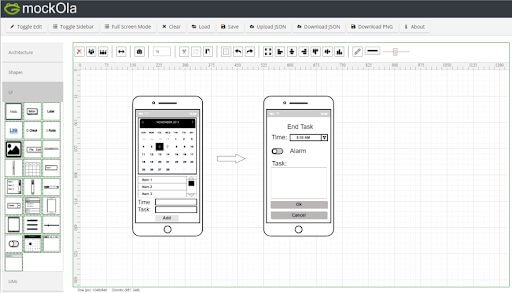
Wrapping Up
MockOla is a simple and diverse tool that has many use cases. In this post, we created a blog mockup by dragging and dropping widgets, customizing those widgets through the property pop-up, importing an image, and using the draw function to request feedback. Finally, we saved and downloaded the image as a .png file.
This mockup was finished in a couple of minutes. The best part of MockOla is it allows the user to have the ease of a lo-fi mockup, but the end result of a polished, professional-looking product.
Be sure to check out our recent videos on MockOla! You’ll find quick tutorials and how-tos that will make using the tool even easier.
A General How-To on MockOla:
A More Specific Tutorial of MockOla’s UML Palette:
More From Joe Sciara
About Keyhole Software
Expert team of software developer consultants solving complex software challenges for U.S. clients.
Share This Post
Join The Thousands Of Devs Who Subscribe


Discuss This Article
Subscribe
Login
0 Comments
Oldest